Want to use your own photos?
There are several procedures for using photos that may contain protected patient information. If you have your own photos you want to use, please contact the CTSI communications team before inserting them in any materials.
Finding photos
Using high-quality, appropriate photos can enhance your materials. First, think about the type of photo you need. Is it of the building? Of an activity? Once you have an idea of the photo you are looking for, start with our own photography.
If you are unable to find a photo using the CTSI photos, try the UF Health Photoshelter or the UF Photoshelter. If you do not have an account already, you will need to create one and get approved before accessing both.
Finally, if you are still not able to find the photo you are looking for, try one of the free stock photo sites listed below:
- https://www.pexels.com/
- https://stocksnap.io/
- https://unsplash.com/
- https://burst.shopify.com/
- https://www.canva.com/photos/
- Need more? You can find a whole list here: https://blog.snappa.com/free-stock-photos/
Editing photos
If you use PicMonkey, please note that it is no longer free and requires a paid account. The CTSI communications team is working on this-stay tuned!
We are aiming to make all photos circular, especially headshots. You can also accomplish this in PicMonkey.
- Go to “Frames” in the toolbar
- Go to “Shape Cutouts”- it should be the first option
- It will crop it to a perfect circle for you, so no need to adjust that
- Make sure you have a transparent background
- Click “Apply”
- Click “Save” in the top toolbar
- Save it as a .png to keep the transparent background
If you are having trouble using PicMonkey, contact the CTSI Communications team for assistance.
We also suggest adding header images to your web pages.
Photographic headers are simple but rather effective. They are elegant and verbose, because they are the website’s ‘face’ so to say. The header is the first thing to notice on the website, and this element can change the user experience dramatically. One static photo on your design can be enough to make a good first impression. Source
With this in mind, it is important to have a high-quality, relevant image. You can find examples of header images on these brand pages, as well as on the Clinical Research Center page and Translational Drug Development Core.
Once you have found your image, follow these steps:
- Use PicMonkey to crop it to the header image size (660 x 138 px)
- Upload your image into WordPress
- Copy and paste the following code into the “Text” editor in WordPress:
<img class=”alignnone size-medium wp-image-21105″ src=”https://ctsi-main.sites.medinfo.ufl.edu/files/2017/09/tdd-banner.png” alt=”” width=”660″ height=”138″ />
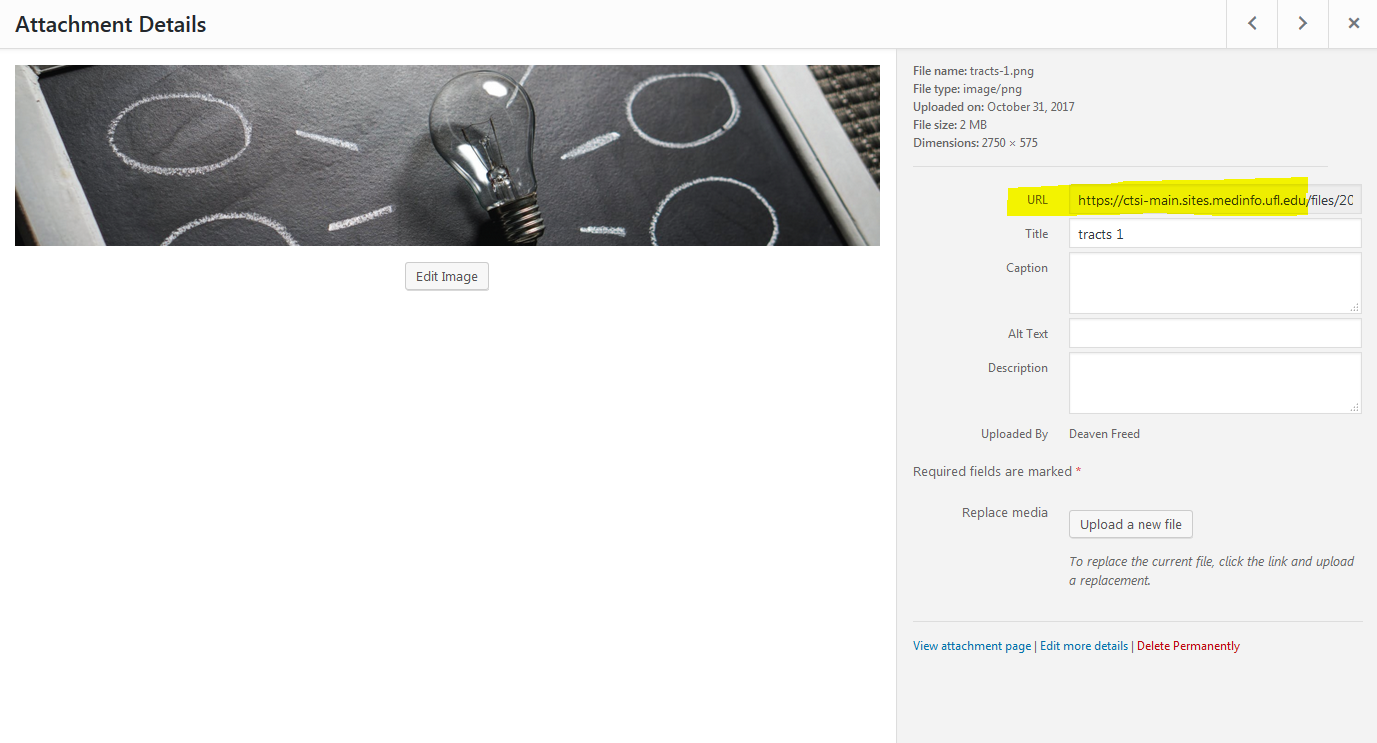
- Take the URL from the image you uploaded (see screenshot below) and paste it in place of the italicized text above